First choose your fabric. This is the second block, so you have to have some continuity in the colors you pick. Background fabric one is used again, but other than that, you have options of which of your fabrics to use. These are what I picked:

Notice I picked the same blue background fabric for the center of block two as I did block one and I kept the same coral-colored accent fabric. I did add a darker turquoise fabric.
This block adds the flying geese element. Flying geese aren't difficult -- as a matter of fact, I enjoy making them. This element reinforces your skills in not cutting off the tips and it adds the issue of marking on the fabric. In order to put the "wings" on your geese, you've got to mark the larger squares on the diagonal.
There are tons of marking tools on the market. There are markers that promise to disappear with water or fade with time when exposed to air. Personally, I'm a little leery of these. I have read horror stories of the marks left by these tools coming back to haunt a quilt by either re-appearing or eventually leaving a trail of tiny holes. So I'm pretty old school when it comes to marking on my fabric. I use either chalk or a pencil especially designed for quilts. These two are my very, very favorite marking tools...

The Fons and Porter pencil is kind of like a mechanical pencil. It has either dark or light lead that can be used in the pencil and they wash out completely. The Quilter's Choice is a non-waxy chalk pencil that is ph balanced and also washes out completely. The Quilter's Choice also comes in a gray chalk.
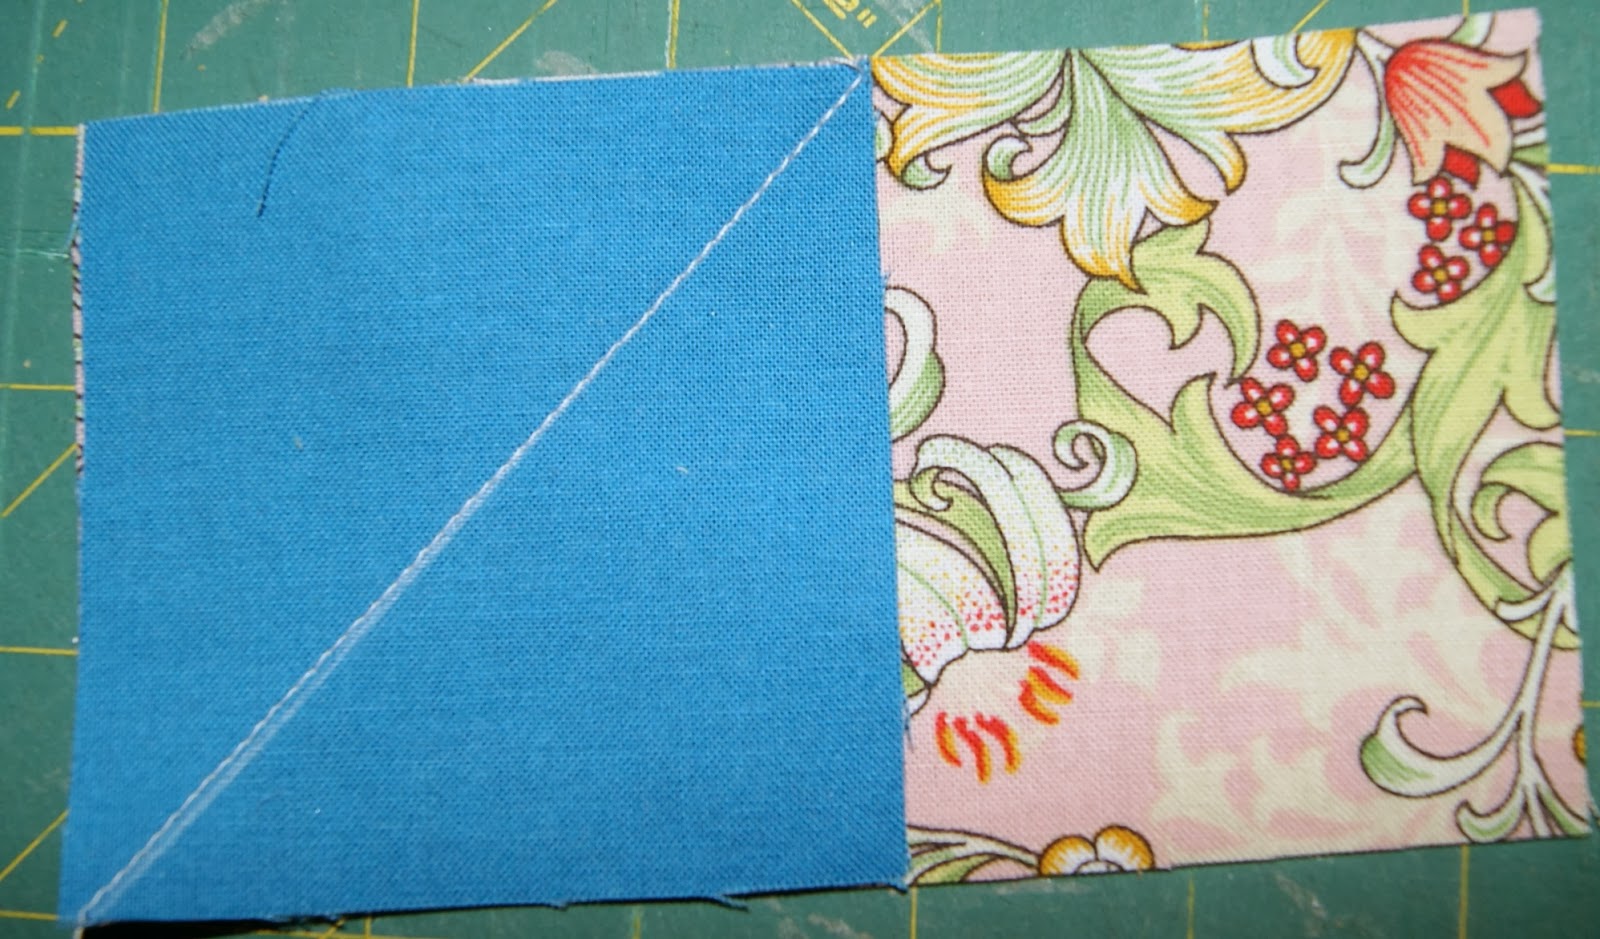
You will mark your 3-inch dark squares with a diagonal line. It doesn't matter which way the diagonal runs -- right to left or left to right -- because you can flip these squares around to have the diagonal line go the way you need it to run.


Line the squares up with one end of the background one square. It doesn't matter is you begin on the left or right side of the rectangle, but it's easiest to do all one side and then do the next.

Make sure all the diagonal lines are running the same way.
Take the units to your sewing machine and sew along the marked line.

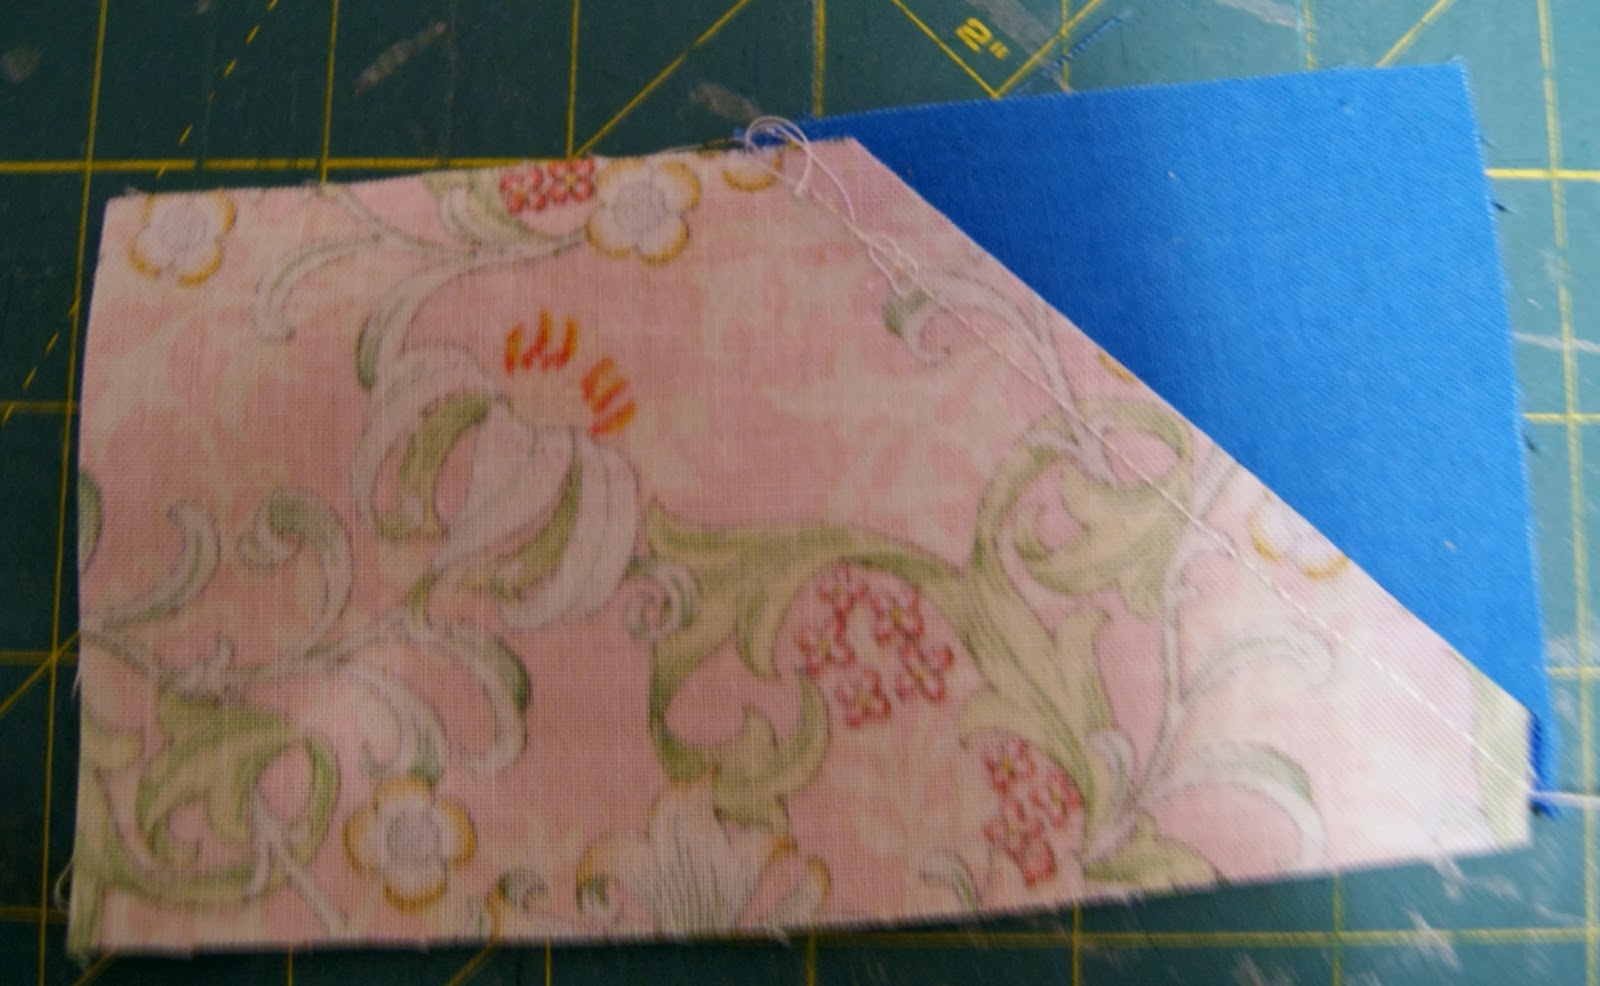
Now we're going to have to cut off the excess part of the wing. I have found the Add-A-Quarter ruler a huge help. Line the ruler up with the seam, having the 1/4-inch lip over hanging the seam.

Then use a rotary cutter to cut the excess off.

Now iron the goose, pressing the seam towards the blue triangle. This is a very important step. The pressing makes the goose sharper and just look better.
Half way there!
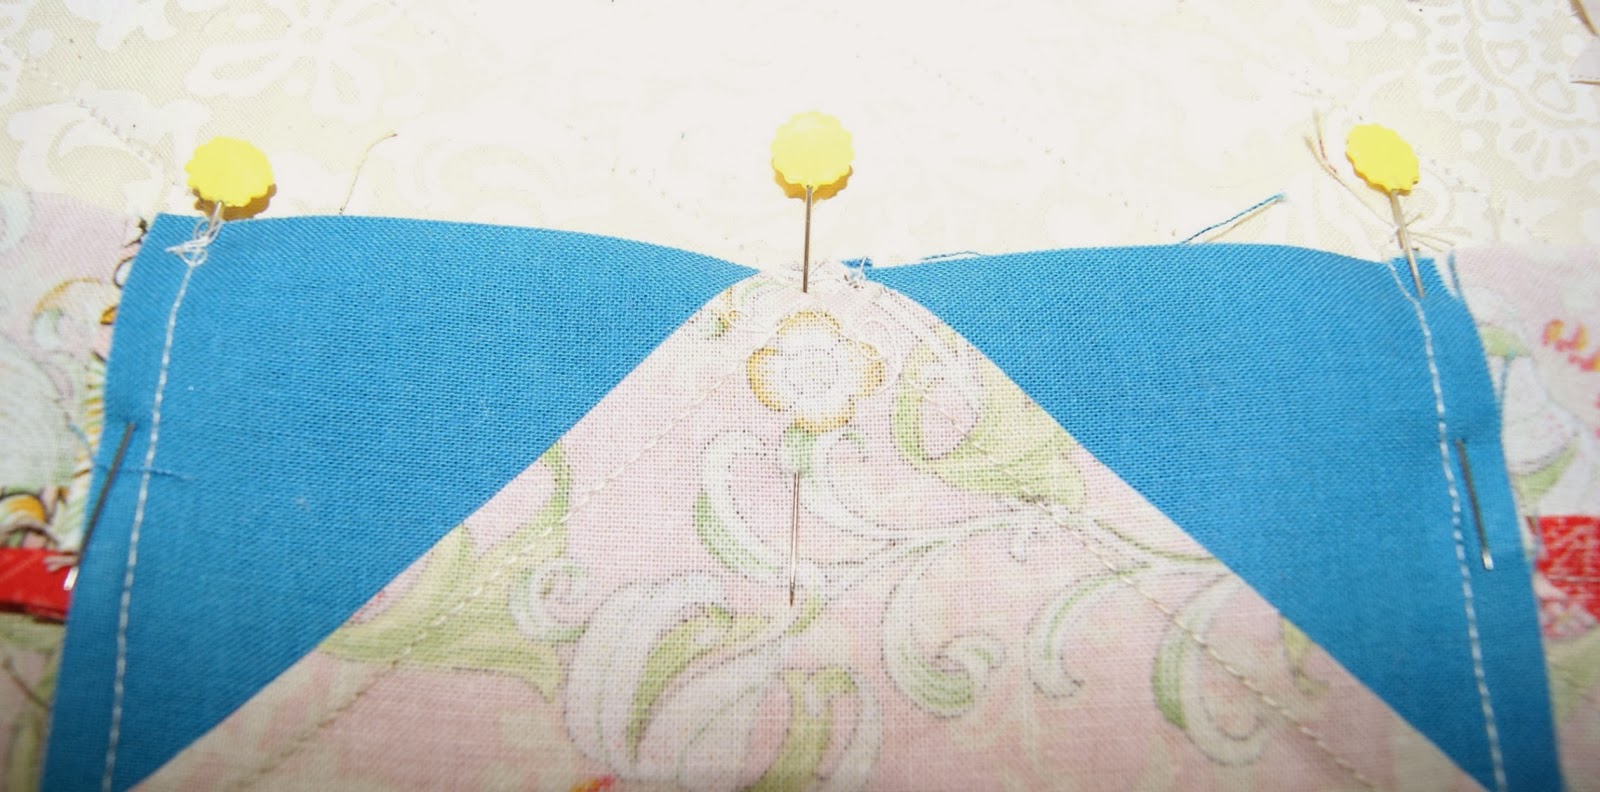
Now place the remaining squares on the other end of the rectangle, right sides together and repeat the above process for the second wing of the flying goose.


Now you need to make your half square triangles with the background unit and accent fabric. Be sure to handle these pieces carefully as the biased edges are exposed. If the fabric has been prepped as discussed in the first block, the starch will help protect the exposed bias edge.


Now lay out your corner squares. Again, make sure everything is facing the right direction.

Let's take a look at the back side of these units. If they've been pressed correctly, with the seam allowances towards the square, the backs of these units will look like this:


Almost done...
Lay out your square and walk away from it a few minutes. Get a drink. Call a friend. Check your email. Update your Facebook status.
Take a break.
This is a more complex square and sometimes that break helps you catch layout mistakes. In this square, the points of the flying geese have to be facing inwards towards the center square and the "butterflies" have to be flying away from the center square. When you've been working on the square for a while, it's easy for your eyes to overlook the mistakes. A break helps you look at the square with fresh eyes.


Press according to directions and there you go! A beautiful and complex square finished except for the applique!

The next applique method I will cover is machine applique. I will be using a square I'm making for a Round Robin exchange for that and not this block. The applique pieces are so small for these blocks, I'm needle turning them for better control.
Have fun! And don't forget to journal this block!
Love and Stitches...
Sherri
No comments:
Post a Comment