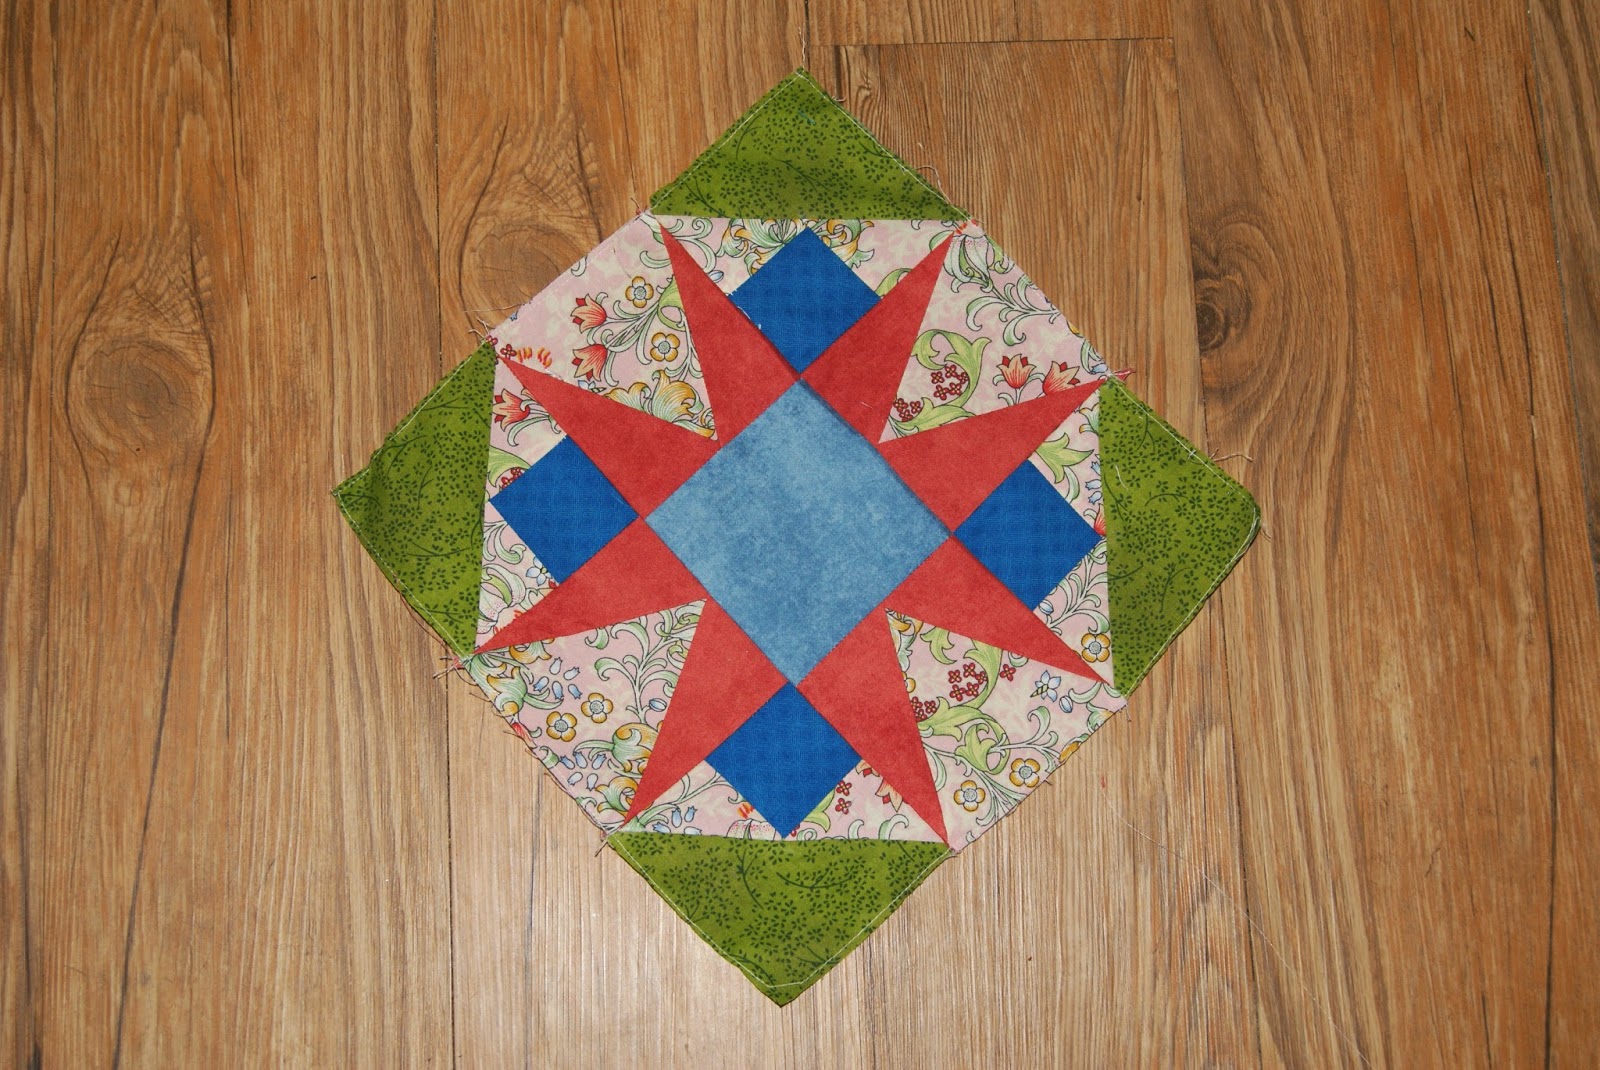
First of all, let's get business out of the way. Here's my finished Broken Star block.
And here's a close up of the applique. I really like the way I fussy cut the center of the flower.
Easy-peasy block. It's hard to believe that we have one more regular block before we begin construction on the medallion center.
If you haven't started working on the applique in the setting triangles, now would be a really, really good time to start...
Just sayin'.
The 2014 "Drop Everything and Just Quilt" Retreat was fantastic! Four days of quilting and fellowship and laughter with about 25 women from my guild. No phone, no housework, and no cooking. I could have spent two weeks there. We have our annual retreat at Haw River State Park in Brown Summit, NC. The park has lodging and prepares the meals. The staff there is simply wonderful. If you live close to the park and have never visited, do yourself a big favor and make a visit. They have great walking and hiking trails, cabins, a pretty lake, and it's just quiet and serene.
But let's get back to the real attraction...quilting.
I'm going to take it a picture at a time and describe what's going on.
This wasn't made at the retreat. It's the center medallion for the 2015 High Point Quilt Guild Raffle Quilt. Joanne Embry machine appliqued it. I can't wait for you to see the completed quilt! Janet Wells brought it so we all could have a look at it.
The park gives us The Grove Auditorium to sew in....Large room, lots of light
One of these will be my next purchase...a collapsible wagon which is wonderful to transport all your quilting supplies, and I imagine would be pretty good to transport grandkids in, too.
Becki Bostick finished this quilt top....
Shelle Mancl did this one....Most of our quilters have an issue about showing their faces in photos.
I absolutely love, love, love this little quilt by Linda Hudgins. So funny...
Judy Poteat made this cute Christmas tree wall hanging.
No one -- no one -- can beat Linda in turning out projects. She works so quickly. She's redoing her sunroom and this is the tablerunner she made.
And this is the matching table topper.
Shelle Mancle finished this top. It came from a Round Robin.
Karen Tooley made several baby quilts at the retreat. This in one of them
I can't remember who did this -- no pun intended.
Janet Wells did this table runner. There were lots of Christmas project this year.
I love this quilt that Linda made. Linda has a "to die for" embroidery machine. Each square or rectangle on this quilt is embroidered. It is breath-taking.
Frankie Drake and Marty Smith did two quilts out of some cross stitch pieces from a friend's mother and the father's shirts. Such a wonderful way to remember someone!
Okay, Lisa Wagner has got to be the coolest quilter around. She did a Tardis quilt for her daughter. If you don't know what Tardis is, go directly to the Dr. Who website and be informed.
This is a charity quilt that Kelly Healy made. She does such beautiful piecing. So far our guild has made over 200 charity quilts for the Hayworth Cancer Center at High Point Regional Hospital. Not too bad for a guild that has been existence since 2012.
Another baby quilt from Karen.
Another stunning embroidery quilt from Linda.
This is a baby quilt that I made. I did make more than one project at the retreat, but this is the only one I have a picture of. And no, I'm not up for grandmother-hood again. A friend of mine is expecting a baby and this is for her.
Stunning purple snowman table runner from Wanda Jantz. The snowmen were done on her embroidery machine. I gotta get me one of those....
Cindi Sullivan and Wanda Wellborn worked on these paper pieced Christmas trees.
Here's another one of Marti's and Frankie's memory quilts.
You know, our guild's members really need to get over hiding behind your quilt work.
Really.
Trust me on this. I think this is Michelle Sower's Bertie's March Block. Several of us are doing Bertie's Year. It's wool on flannel and piecing. And that is a whole 'nother blog with a whole 'nother set of issues.
I don't know who is hiding behind this quilt, but it's a quilt for the cancer center.
Wanda made a cloth book for soon-to-arrive great grandson.
This is another one of Linda's quilts. No embroidery on this one, but the pictures are from a panel and then she did the neat log cabin type of blocks to set them.
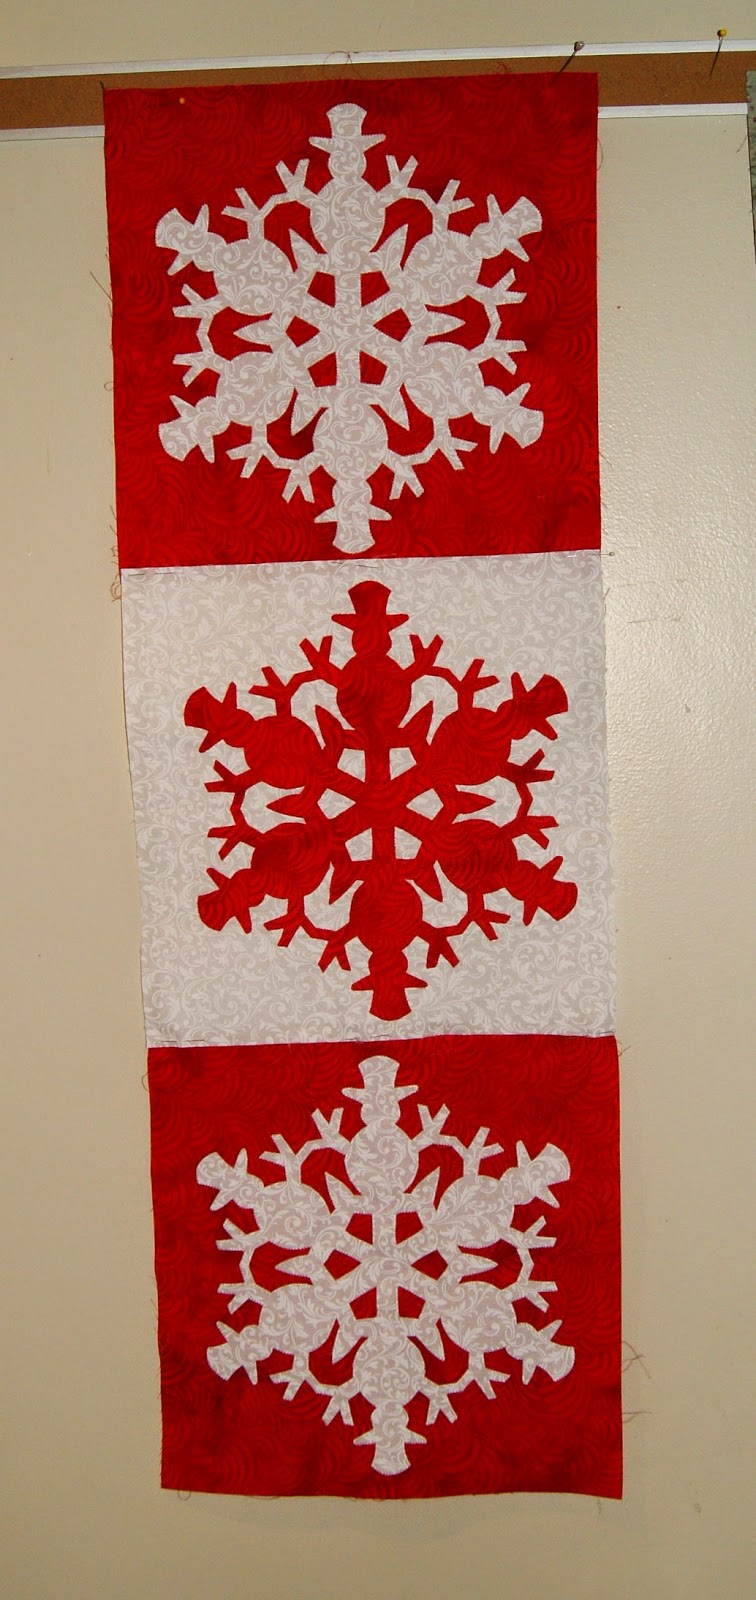
Judy Poteat made this intricate table runner out of snowman snowflakes. How neat is that?
Another quilt from Linda! She makes me feel so slow...this is the Umbrella Girls. They're kind of a precursor to Sunbonnet Sue.
And one more from Linda. All the reindeer have her grandkids names on them. And the little one has her great grandchild's name on it. So very, very sweet.
This little project from Joy Cole is deceiving. It's the absolutely neatest bag I've ever seen. It's got tons of pockets and sheets that you can store tons of quilting and applique supplies. It's quilted and piped and has zippers and vinyl sheeting and took about a day and a half to make.
I want one so bad....
I have ordered the Craftsy Class. Just gotta order the supplies and find the time.
Wanda made this cute Thanksgiving paper-pieced wall hanging...
And Linda made this sewing machine wall hanging. I have the pattern....that's the first step.
Shelle made this baby quilt for her soon-to-arrive granddaughter.
And Joy made this table runner.
Kelly had this quilt top. I love the colors! I said it before and I'll say it again. Kelly does lovely pieced work.
Becki Bostic made this flag quilt. Doesn't it look like it's waving in the wind? She did such a wonderful job.
Wanda made this beautiful purple and green quilt. I love the colors and that border fabric is so pretty!
Janet Wells made this table topper. Love the curves.
Every year the powers that be choose what is called the Pantone Color of the Year. This year the color was orchid -- the purple in this quilt. Kelly challenged herself to make a quilt with this color.
I think it's absolutely stunning. The border fabric ties everything together so well and again...her piecing is gorgeous.
Wendy Clagg made this cute fall wall hanging.
And Lisa Angel made this miniature quilt out of teeny tiny tumblers. I don't think I have that kind of patience.
And me? Well, it's difficult to take pictures of your own work while your holding it up for everyone to see. I finished eight Dear Jane Blocks, two quilt tops, some applique work on different projects and started my squares for the 2015 raffle quilt.
If you ever have a chance to take a quilting cruise, trip, or attend a retreat, do yourself a favor and do so. It's refreshing and recharging to get away with a group of quilters. I came back rested and my creativity was renewed.
Aaannnnd I had a ton of fun. Just always remember the rule of quilt retreat...
"What happens at quilt retreat....stays at quilt retreat....."
Love and Stitches,
Sherri


.JPG)