More set in seams and different cutting directions....
This is a challenging block, but the pieces are bigger in this one, so the set-in seams do go together a little easier. Re-read my blog on Tulips and Ivy to go over the basics of these Y-seams if you're a little foggy on them.
First of all, there are a lot of biased edges on this block, so handle carefully and starch liberally.
Second, on section C under the Cutting Recipe, I found that cutting the blocks 4-inches worked better than 3 1/2-inches.
Cutting the diamond strips are very similar to the to the way that we did in Tulips and Ivy. But this time you cut one strip at a time and you don't fold them wrong sides together. And this time you use the 45-degree line on your ruler rather than the 60-degree line.
Cut away the first section and discard.
Measure 2 1/2-inches from the new end and mark. Line up your ruler again along the edge of the strip and use the 45-degree line as your base and cut the first diamond.
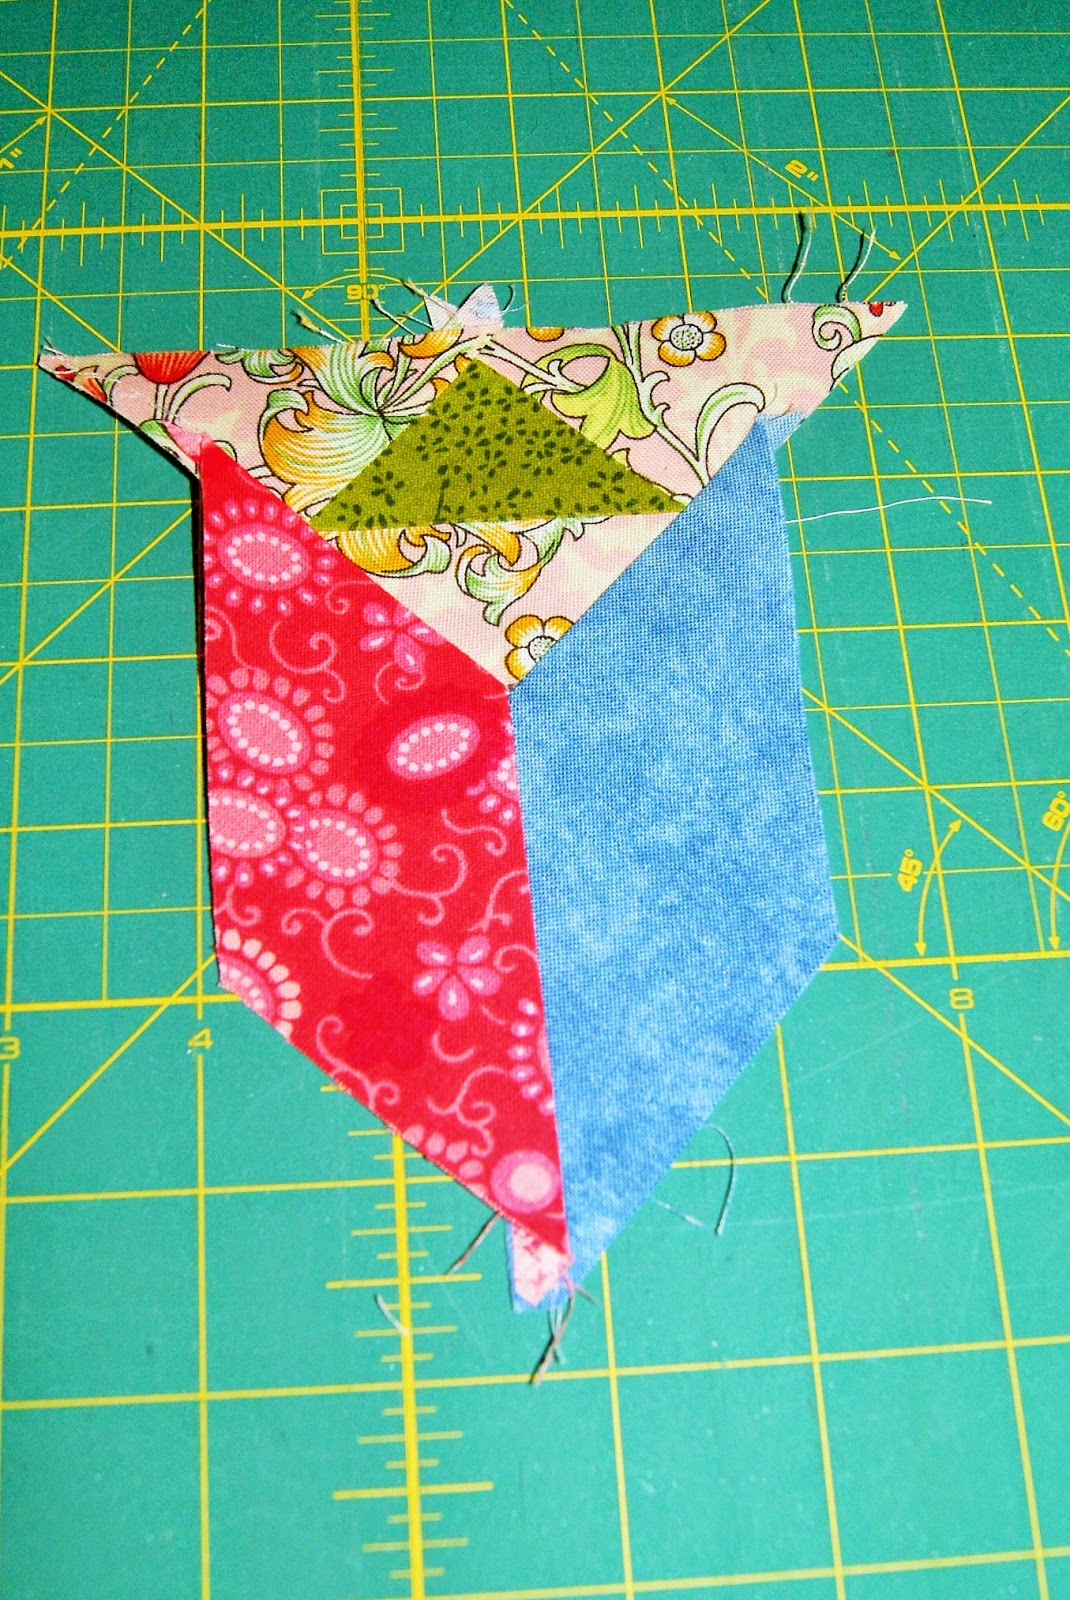
Continue in this manner until you have four diamonds of one color and four diamonds of an opposite color. As you're cutting, makes sure the two sets of diamonds are going opposite directions, as shown below. The rest of the square goes together pretty easily. Just follow the directions in the book At Piece with Time. One of the things that may through you, is this step. When you get to the point where you're working with the first set of Y-seams, that inserted triangle is going to stick out a little above the diamonds. And that is fine. It needs to and you will see why as you construct the rest of the block.
This is the finished block. You can see now why those insert triangles had to go a little above the diamonds. If they had been even with them, the points would be cut off as the rest of the quilt is constructed.
Next week we will focus on the large setting triangle for the final time before beginning work on the center medallion.
Until then, love and stitches...
Sherri


No comments:
Post a Comment