There are few more blocks left, then the setting triangles, then the Blazing Star in the middle. The last few blocks aren't hard. One or two are different, but that doesn't necessarily mean they are difficult.
Passionate Star is one of these different blocks. The triangles in this block are different and are cut from rectangles instead of squares. So we're going through this bit by bit and hopefully the instructions will take some of the mystery out of the block.
First, remember that when you see a - (minus) beside any of the measurements, cut a thread or two less than the measurement given. When you see the + (plus), cut a thread or two more. Also remember you're going to have reverse pieces on some of these, so it's really, really important that you follow the cutting instructions carefully.
To cut the A piece, which end up being four rectangles that are 4 5/8-inches by 2 3/8-inches, first cut a strip of fabric 2 3/8-inches by 22 inches. Fold it in half wrong sides together, then cut into 4 5/8-inch sections. Cut these rectangles on the diagonal that that will give you your A and AR pieces.


At the top of the strip, make a dot every 4 1/4 inch.


I am not reimbursed in any way, shape, or form for this blog. If I recommend a product here, it's because I've purchased it and I've used it and I like it. This is one of these moments. Let me introduce to you my new favorite marking tool.

The ink also disappears when you get it hot.
Quilters quickly discovered that this little jewel sold as an office supply staple had a second life as a marking tool for sewing. Quilt shops now sell them, but you can get them in packs of four at most office supply places.
We now return to our regularly scheduled blog.
After you mark the top of the strip of background fabric, fold the material halfway between each set of dots.

Since you can't iron the fabric because the marked dots will disappear (at least you can't if you use a Frixion pen), let me show you another handy-dandy tool

It's a wooden stylus used for applique, but the tapered end can be used for "finger pressing."

After making the creases, mark them with dots. Use a ruler to connect the dots and form triangles. Cut those triangles out. Remember, you only need four.

Use a marking tool to make dots 1/4-inch in from each point on the triangle above as well as the A and AR triangles and lay them out as below:


The rest of the units come together pretty quickly.

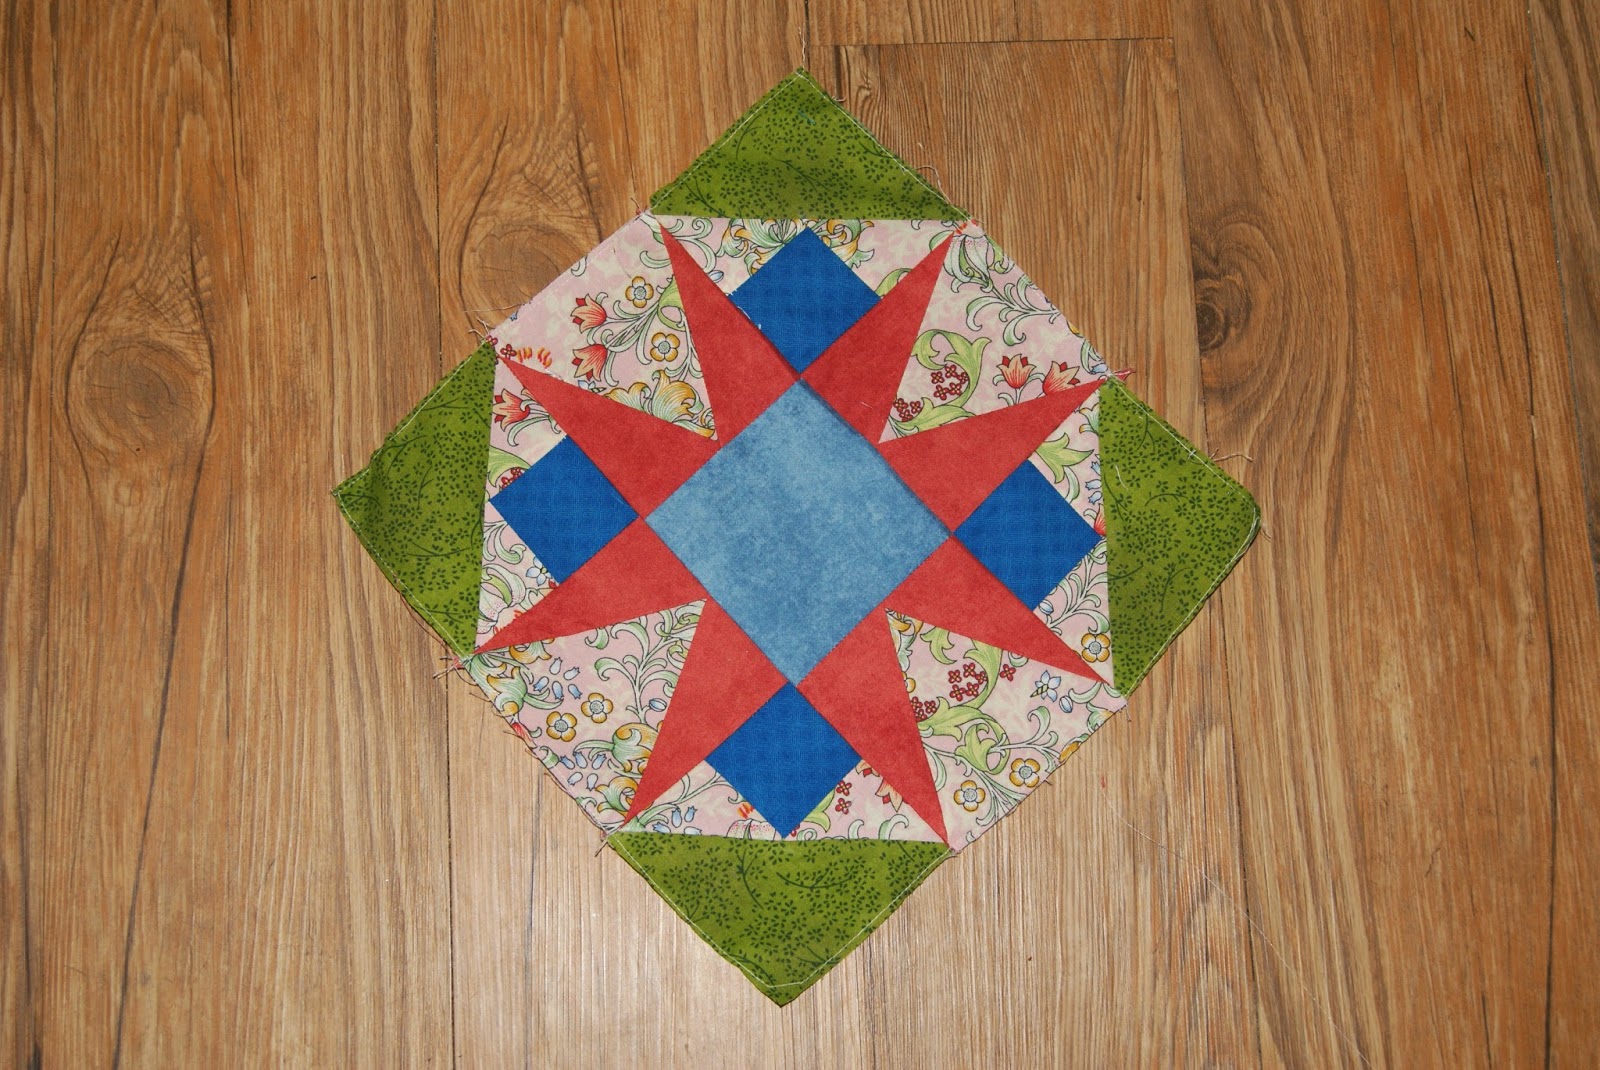
And you have a beautiful block. The applique is pretty easy, too. I haven't gotten to that part yet. I will finish the block on my guild's retreat next week...
Which I am pretty stoked about.
I've gotten a new quilt cut out to work on....

Until then,
Love and Stitches,
Sherri
No comments:
Post a Comment