Friday, March 13, 2015

Mitered Corners and Pigs

Better buckle up, folks.  This is going to be a long blog.  I'm making it longer than normal for a couple of reasons.  First, I did get a lot of stuff done this week.  And some of that involves mitered corners.  The second reason is that next week, there's not going to be a blog.  I will be with Shelle at Quilt Fest in Pigeon Forge, Tennessee.  I've never been before, and am really looking forward to it - especially Saturday when I will be in a class with Sue Nickels learning more about machine applique.

I promise to take pictures and tell you alllllll about it.

So let's jump right into the Blazing Star.  We finished that up last week.   Now we have to put on the mitered border.

Let me just be really honest right here.  At one time, mitered corners were right up there with set-in seams and paper-piecing on my least favorite quilty things.  Judy Niemeyer got me over my paper-piecing paranoia.  This book got me over my mitering mania:

 I do not get paid one red cent for anything I promote on my blog, and anything I do recommend I either have read it or used it and found it extremely beneficial.  Let me just say that if you do not have this book in your quilting library, go get it now.  Jill has the clearest directions and illustrations for borders, mitering corners, binding, backing....it's just one of the most helpful books I have ever had.  A dear friend in my Saturday quilting bee gave it to me for Christmas one year.  I used that copy so much I literally wore it out and had to buy another one. 

Now if I can only find someone to get me over my set-in seams psychosis, all will be well in my quilting world. 

At Piece With Time simply tells you to miter the corners using your favorite method.  The following is how I did mine and the directions came from Borders: The Basics and Beyond.

First cut four strips at least 12 inches longer than your center square.  That is probably a little too long, but it's better to have to cut fabric off than wish you had made the strips longer.  Press the strips in half to find the center and put a pin in the crease.


Next, take the Blazing Star square and measure 1/4-inch down and across from each corner of the square.  Mark this with a dot.


Center the pin in the strip to the center of your block (this should be easy to find) and pin the strip to the square.  Lots of quilters don't like to use pins or take the time to pin in place.  I'm not one of those quilters.  I have often found a well placed pin has saved me from having to rip out seams. 

Take the block to your sewing machine and begin sewing where you've marked one of those dots.  Be sure to back stitch before beginning your seam.


Continue sewing until you come to the dot at the end of this side and back stitch again.  Cut your thread.
Do all four sides of the Blazing Star this way.  When you're finished, it will look like this:

Now take it to the ironing board.  We'll concentrate on one corner at a time.
Fold back one of the strips so that it lays on top of the other one, like this:
Press this folded piece really well.  Use steam, because you want a sharp crease you can see easily.  Fold your Blazing Star block in half at this corner so that the strips lie on top of each other and pin the strips in place along the crease.


Take this back to your sewing machine an sew along the crease.  When opened up to the right side, you should have a beautifully mitered corner with no puckers. 

Trim the extra fabric off  the wrong side of the block and press the seam open.

Do the other three sides and you should have a beautiful center square surrounded by a beautiful mitered border that didn't give you a migraine.


Now to add the appliqued setting triangles that you've worked so hard on for months and months...

It's a little bit scary when you think about cutting these things apart.  However, it must be done and the measurements given in At Piece With Time are very, very accurate.  But if you feel the least bit antsy about it, give yourself about a quarter inch more around the sides than the book instructs.

Whew.

Aren't you glad that's over with?  And it wasn't that hard -- not really.

Now on to the pig portion of this blog. 

I would like to update you on my library book quilt, Charlotte's Web.  I finished it yesterday and handed it over to Karen last night at guild meeting.  I was very, very pleased with it.


I had so much fun making this little quilt!  I used two decorative stitches on my Janome 7700 to make Charlotte's body and head.  And I did minimal quilting on it, just around Wilber and his friends and around the title of the book.  It is pretty much one piece of fabric and batting, so it didn't need a whole lot.  Plus it's a small wall hanging -- not a whole lot to hold together.  

This is the back.  I could resist using some left over Halloween fabric.  And the label has a tiny black and white picture out of the book.

I hope our guild does this again next year.  I got the biggest kick out of making this little quilt!

Take care of yourself next week.  I promise I will take lots of pictures in Pigeon Forge!

Love and Stitches,

Sherri

Wednesday, March 4, 2015

Harvest Bouquet and the Blazing Star

We're in the home stretch now....

I have finally finished appliqueing the setting triangles for the Blazing Star.  They consisted of lots of tiny pieces and doing most of the applique items four times, but they're finally done!


Not  bad if I do say so myself. 

As you begin construction on the Blazing Star, remember that this quilt block must come out 16 1/2-inches unfinished.  This is pretty basic construction.   Start with a pinwheel and be careful about the way you press your seams so that they nest and the points meet.

Note that the center seam is pressed open.  This reduces bulk so when you quilt it you won't be so difficult to needle it (whether you hand quilt or machine quilt).  Then there is a series of setting triangles that go around the pinwheel.


Then add on the sides and top and bottom and it's complete.
Next I need to add the mitered border around the Blazing Star, then the Harvest Bouquet setting triangles and start putting the rest of the quilt together. 

Because of the error in the setting triangles on page 72, I may have to purchase new fabric for those.  Maybe.  I'm going to try my best to use it because it ties everything together so nicely.  If I do have to use some other material, I will tuck the other away and use it for something else. 

Have fun putting the Blazing Star together.  It's simple piecing and should go together quickly.

Love and Stitches,

Sherri

Thursday, February 26, 2015

Oh the Weather Outside....

It snowed last night.

Lots of it.

I knew it was coming and to us North Carolinians, a half-inch of the stuff is enough to send us screaming for the grocery store and close up everything for the day.

Last night we got about six inches of the white, fluffy stuff, so here are my obligatory snow pictures...


It's beautiful and wonderful but it really puts a kink in my "to do" list if that involves errands. 

Now back to our regular quilting business.

First of all, if you're working on At Piece with Time, please read this next part very carefully.  There is a MAJOR error in the directions that involve putting the quilt together.  On page 72, under the section labeled Setting Triangles, the part that is labeled "E" you need to cut the squares 15 3/8-inches,  NOT what it states in the book.

My good friend Nancy Blanchard caught this last week and gave me the heads up on it.  Unfortunately for Nancy, she caught this one through experience and nearly didn't have enough of her material to finish her quilt.  This also means that for the dark setting squares and triangles, you need to purchase 2 1/4-yards of fabric instead of just two.

I really, really hope I caught this in time for everyone to correct this before they were too much into putting the quilt together.  I have not gotten that far into the construction of my quilt top, but wasn't too far behind it.  I hopefully will applique the last leaves onto my setting triangles tonight.  My Blazing Star center is cut out and as soon as my granddarlings go home for the evening (they're spending their snow day with Mimi), I will put that together.

I got so much done last week!  I got the center of my Peppermint Place put together....


I managed to get all the letters on my mini-quilt for the Jamestown Library fused on and appliqued down...
And stitched all of Charlotte's webs and Charlotte herself.

Hopefully the rest of the critters will have eyes and noses by the end of next week and I can get the wall in place.  Then it will simply be the matter of quilting it all up and handing if off to Karen.

I have also started the Country Inn Quilt and have just about got the first block of that done. 


I don't think I have ever needle-turned such big pieces before.  And the blocks seem so huge compared to what I normally piece.  I am using the freezer paper on top method to do the applique.  I honestly didn't know if I would like working with such big pieces, but I really love it.  And it's so much faster than the little pieces that I normally work with. 

I hope to have more notes on the center square for At Piece with Time next week.  March is going to be a crazy busy month!

Love and Stitches,

Sherri

Thursday, February 19, 2015

It's Cold and Colds

There is a reason the Good Lord decided that I needed to live in the South.

I'm sure actually there are many reasons...sweet tea, cold beer, great barbeque joints, good music, terrific quilt shops, etc., etc, but the primary reason is the temperatures.  We usually don't have really cold weather for any amount of time.  We may have a cold snap and then the temperatures will quickly moderate into the 40's even in the deepest part of winter. 

And if it snows, everything closes and you make a mad run for the Teeter to get milk, bread, coffee, and wine.  You pray the power stays on and you set yourself up for a good time of quilting and imbibing.

However....we're having a little cold snap right now that isn't going anywhere anytime soon. 

Have I mentioned how much I hate cold weather?  Canada, you can take your jet streamed cold front back now. 

When I got up this morning, it was 8 degrees.

Eight.  Degrees.

Factor in the wind chill and it feels like -2.

There is something seriously wrong with this picture.

And have I mentioned I hate cold weather?

This little cold snap will moderate this weekend and then make a repeat performance the first of next week. 

Florida has never looked so good, but it's only 50 degrees today in the Keyes. 

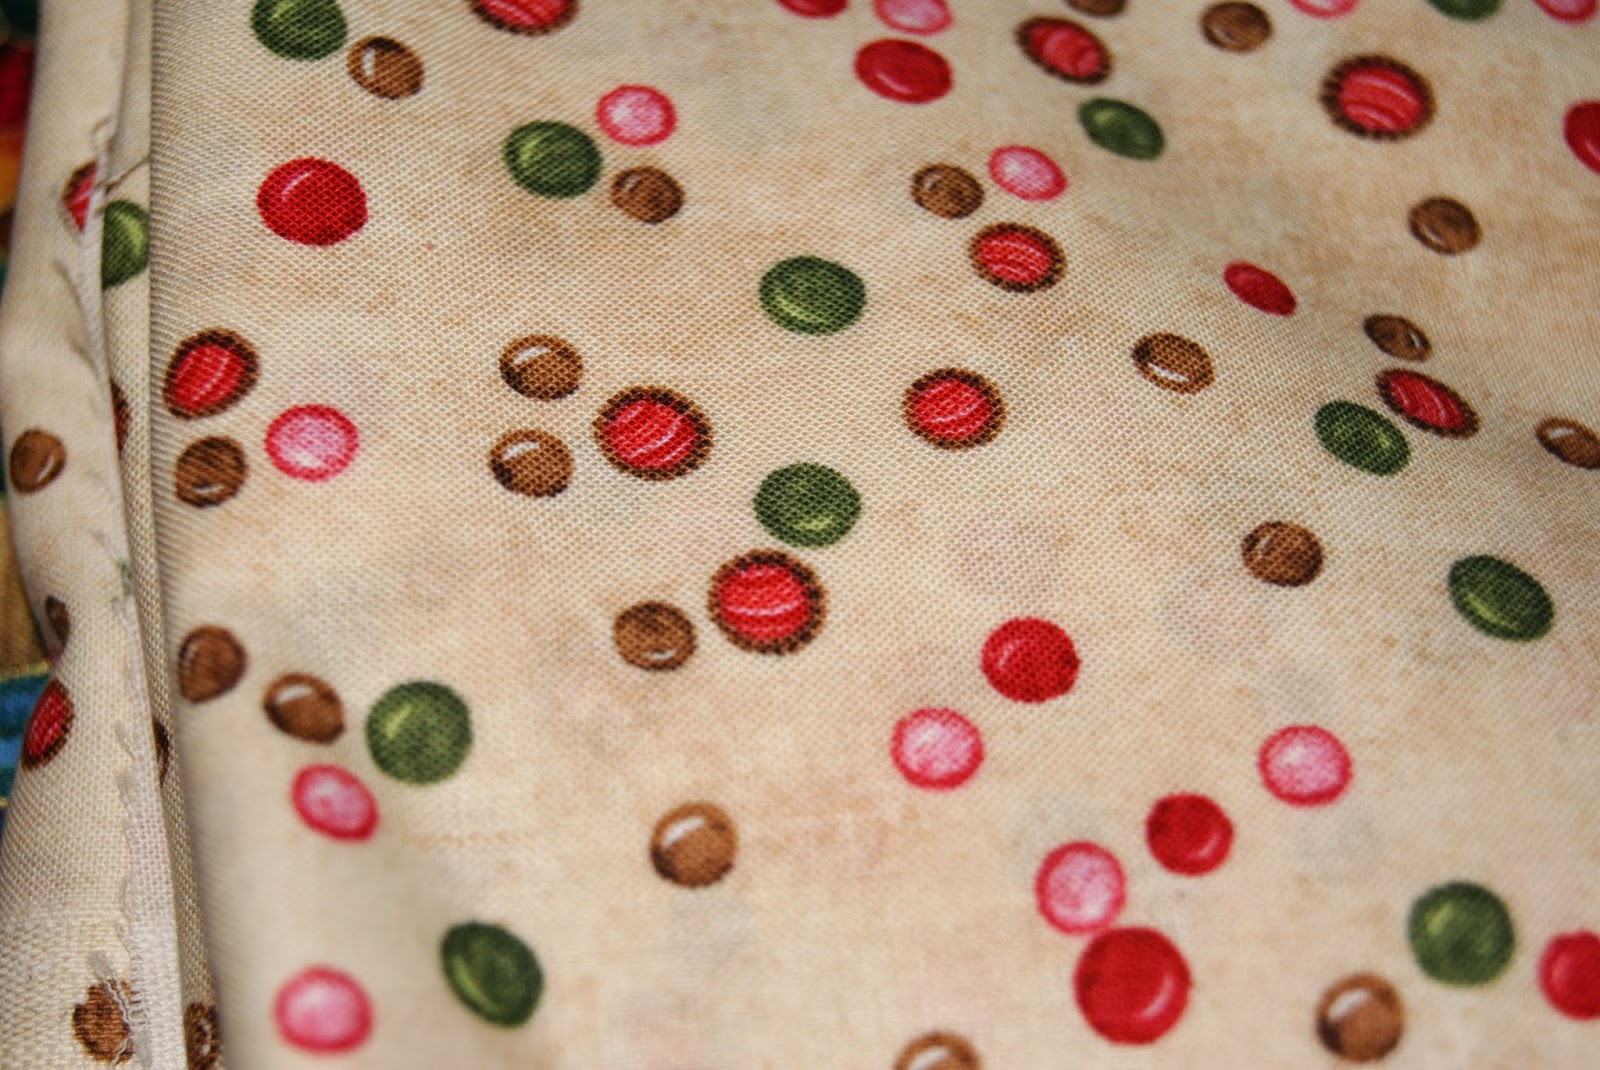
Sit and Sew was cancelled Tuesday due to ice, my guild Show and Tell pictures are on my Ipad that is not with me, so I decided to share some lovely fabric today to make everyone feel warm and fuzzy.

Mainly warm.


No plans for any of the above except the last one.  I'm taking a class in April with Kim Diehl and think I will use that one for the border.

In the midst of the cold, my granddarlings gave me a cold.  I've had it a week and feel miserable.  So it's cold and I have a bad cold.  I'm no longer sure if my chills are legitimate or are viral induced. 

And for those of you that have been asking about Carl, no he hasn't caught the moles yet.  I haven't seen him but a couple of times since Canada gifted us with these temps, but he's still here...waiting and watching.

I still hate cold weather.

Keep warm....

Love and Stitches...

Sherri

Thursday, February 12, 2015

Sunbonnet Sue

I love Sunbonnet Sue quilts.

I know, I know, this particular quilt block either warms the heart or raises the hackles of most quilters.  It seems you either love her or hate her.  And for those of you that are haters, there are even quilts out there that celebrate the demise of Sue.

Shame, shame...

She's such a sweet, innocent little girl, whose origins actually go back beyond the Umbrella Girls quilt blocks.  I've always loved her -- ever since I came across the Holly Hobby renditions of the character in the 1970's -- and she's held a special place in my quilt world.

The Episcopal Church in Beaufort, NC has a thrift shop that it operates for the ministries of the parish.  So when I walked into the shop a couple of summers ago and saw a Sunbonnet Sue quilt hanging over the upstairs railing, I did a double-take.  I've always had decent luck finding old quilts in thrift shops and yard sales, but this quilt was somethin' else.

And not in the good way, either.

She was filthy and grimy and I couldn't even begin to try to tell you when was the last time she had a bath.  I could tell that she was made out of feed sacks, but other than that, there was precious little detail I could make out.  But I gingerly took her off the railing and marched to the check out counter.

"How much is this quilt?" I asked the lady at the register.

The woman looked at me like I was crazy for wanting the  dirty thing.  "Thirty-five dollars."

I offered $25 and held out cash.  Register-woman took it out of my hands and had the quilt in a plastic bag before I could blink twice.

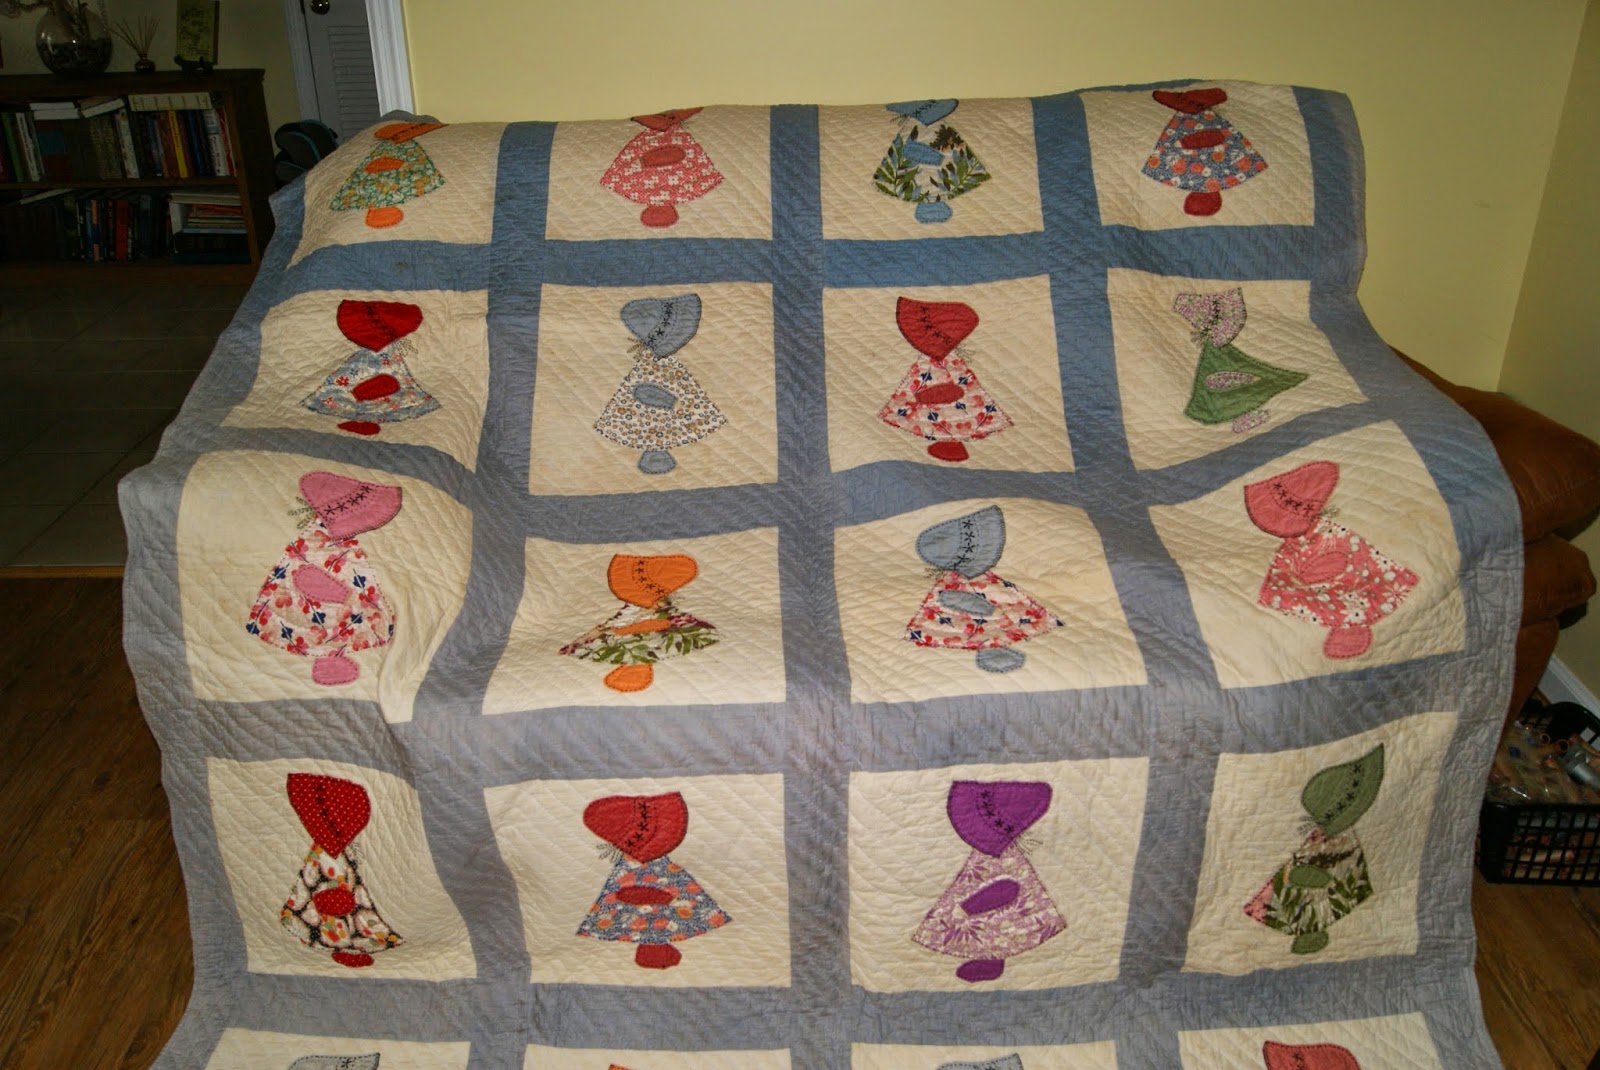
It took four good washings in the tub and a good day of drying outside in the sunshine, but Sunbonnet Sue now looks like this....


She cleaned up really well, don't you think?

Each Sunbonnet Sue is made out of feed sacks and no two Sues are exactly alike.  The edges are turned under and sewn down by machine and then embellished with black embroidery thread.


The tiny hands are actually folded Prairie Points.

The front of the quilt cleaned up quite well, considering how filthy she was.  You can see a water mark on the front, showing it clearly had been the victim of water damage.  The back, while it did clean well, shows marked wear and folding damage.


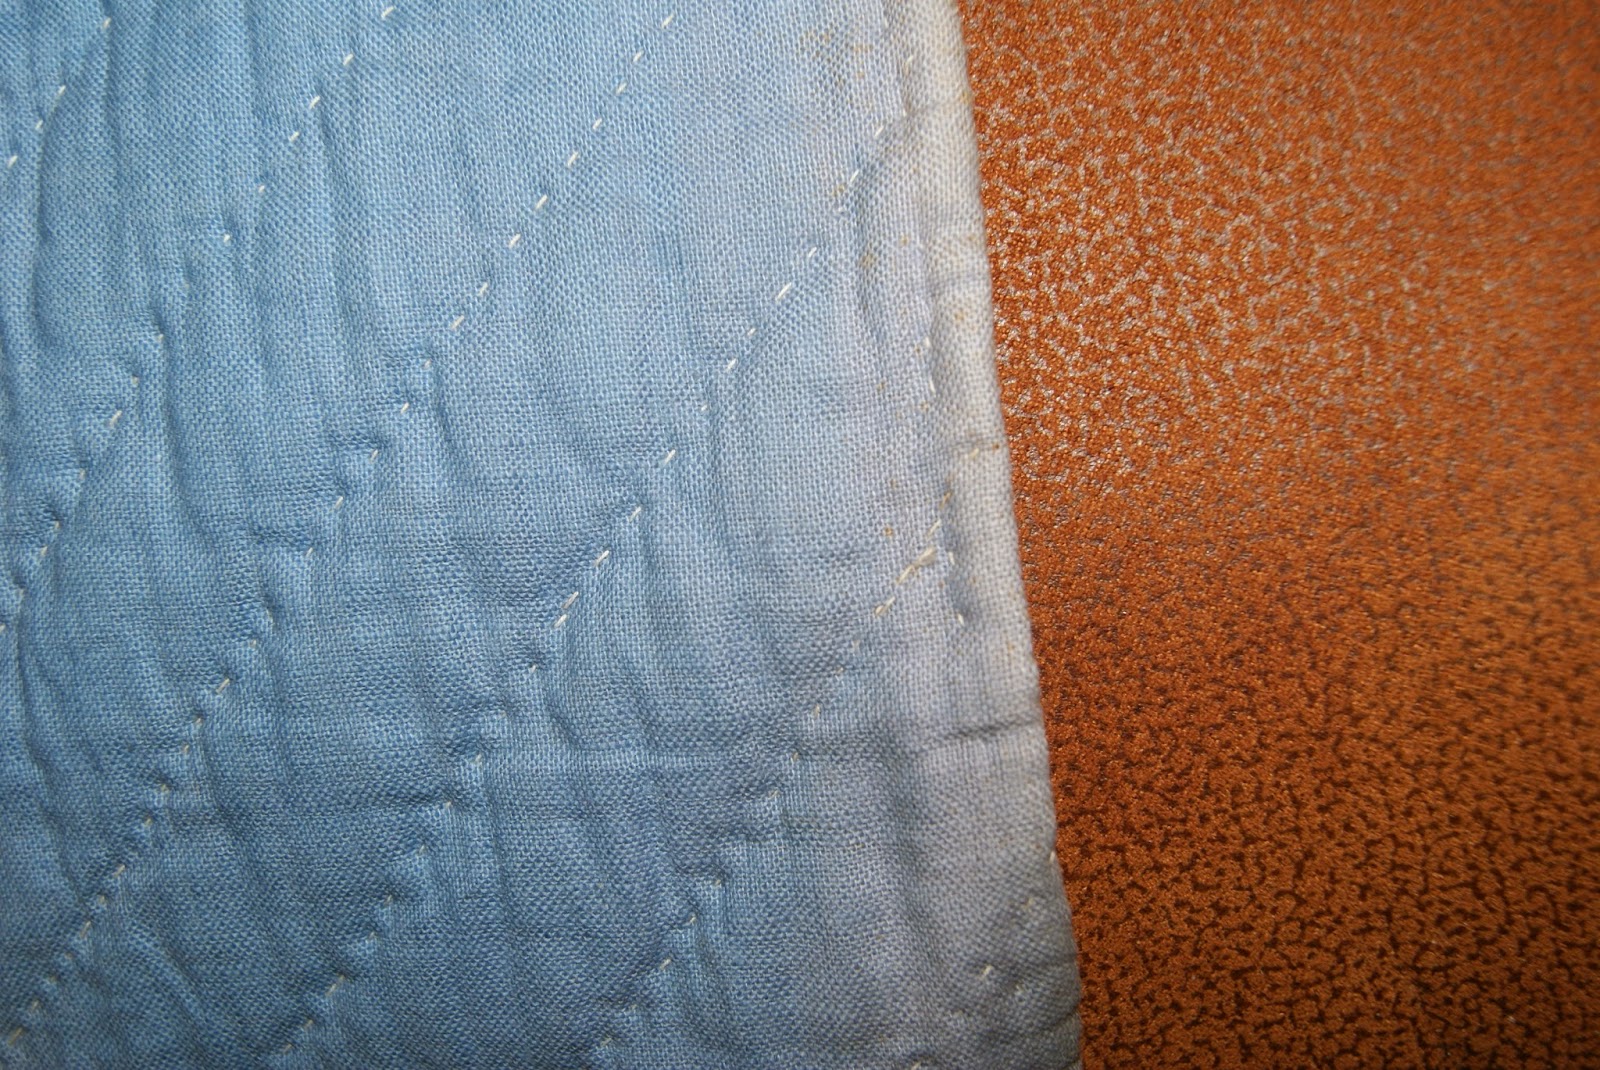
It is machine-pieced and hand quilted, not only in the blocks, but also in the sashing.

At my guild's history club, there was much discussion if the back could be yardage instead of feed sacks, I think that is probably a safe assumption.  And again, like some of my other feed sack quilts, the binding was part of the front that was pulled around to the back and whipped down by hand.

Sadly, there is no label, so I have no clue where this sweet quilt came from and how it lived out its life.  I'm just glad she ended up with me, because I sure do love her!

One more thing before I go,  I know a lot of quilters get particular joy and happiness by helping out others.  It's just part of our quilting DNA.  So, if you're looking for a way to give back, take a look at this:  http://www.elefantz.com/2015/01/join-me-for-operation-sparrow.html

The pattern is free from Craftsy and it's a wonderful cause.  Jenny gave anyone with a blog or Facebook page permission to use this link to her blog to support this cause.  So if you want to play this one forward, please do.

Love and Stitches,

Sherri

Thursday, February 5, 2015

Hawks and Spiders

I firmly believe some of life's best lessons come from the critters that the Good Lord has blessed us with.  Consequently, I also believe that God had the most fun when He created the animals -- but that's another blog entirely.

I think, for me, it boils down to two simple facts:  Some of my best friends have had more than two legs...and I am blessed enough to live waaayyyyyyyy out in the country.  This location has allowed my family to "baby sit" ostriches, have a variety of critters as pets, and have a pretty darn good glimpse at the local wildlife -- the real wild life, not the kinds that hang out at clubs until dark o'thirty in the morning.

Birds in particular thrive out here.  I know the woodpeckers are back.  I haven't seen one yet, but I hear them almost every morning when I leave for work.  I hope my "window sill" buddies are back this spring.  I've seen them several times revisiting their nest that I haven't had the heart to clean out yet.  I will soon, and sprinkle moth balls underneath the window to keep away the snakes, just in case the birdies decide to share my kitchen window again when it warms up. 

However, this fall and winter brought a new feathered friend to my yard...a red-tailed hawk.  Bill and I have always caught glimpses of these guys, but for whatever reason it is, this year they seem to be more abundant.  We noticed one particular hawk hanging out close to our house -- first he would sit on the railing of one of our barns or on the power lines beside the house.  Then I caught a glimpse of him actually walking in our yard.  I've seen them swoop down and grab rabbits (don't get all dewy-eyed with me here...it's the circle of life, folks) and then sit and eat their dinner, but this guy....he was walking around my yard like he owned the place. 

How. Odd.

Especially if you've never seen a hawk walk...they kind of waddle.

We did finally figure out what he was doing.  See, we have a mole.  Or maybe a family or three of the critters.  And they leave nice burrowing marks wherever they decide to tunnel.  Ol' red-tail is hunting himself a mole.  And he's so obsessed by this, that Bill and I have given the guy a name....Carl Spackler.

If you don't know who that is, go back and google Caddy Shack or Bill Murray.

Here's a picture of Carl walking around the side yard.  I will let you know if he ever catches that mole.

I feel the need to play that Kenny Loggin's song, "I'm All Right" at this point....

Now let's talk spiders.  Seriously.  Spiders.

I don't freak out at spiders.  Maybe it's because for a long time I lived primarily by myself with the kids, as Bill's job took him out of town most of the time.  If there was a spider to be killed, I had to do it.  Spiders, snakes... anything creepy and slithery really doesn't bother me.  The only bug that really bugs me is a cockroach.

But one in particular spider stole my heart a long time ago...Charlotte... as in Charlotte's Web.  Charlotte, who along with Wilber and Templeton and the Goose and the Sheep kept Sherri the little girl entertained for hours.  I so loved this book that once I found my childhood copy, had it re-bound and am itching to put it in my grandchildren's hands before long.

And how does this figure into quilting?  Well, the High Point Guild is networking with the Jamestown Library this summer to do small wall quilts that depict books.  These quilts will be auctioned off to raise money for the children's section of the library. 

We could either do a quilt that depicted the library's summer reading theme or do one that depicted our favorite book as a child.  Charlotte and her feathered and furry friends immediately came to mind.  And I decided that I wanted to stretch myself as a quilter and do it entirely from scratch.  No patterns.

So I started with a sketch.

This was my first sketch, but I wasn't happy with the ratios or the way the pig was so stylized in comparison to the spider.  So I did another sketch.

I liked this one better.  So I blacked it in, did a transparency and threw it on my overhead  to enlarge it exactly to the dimensions of 16-inches x 20-inches.

Not too bad as far as Charlotte and Wilber goes, but poor Templeton -- when he was enlarged he went from looking like a self-respecting rat to a weasel.  That wouldn't do.

So since you can't improve on a classic, I did a transparency of the cover of the book.

And played with it. 

For a week.

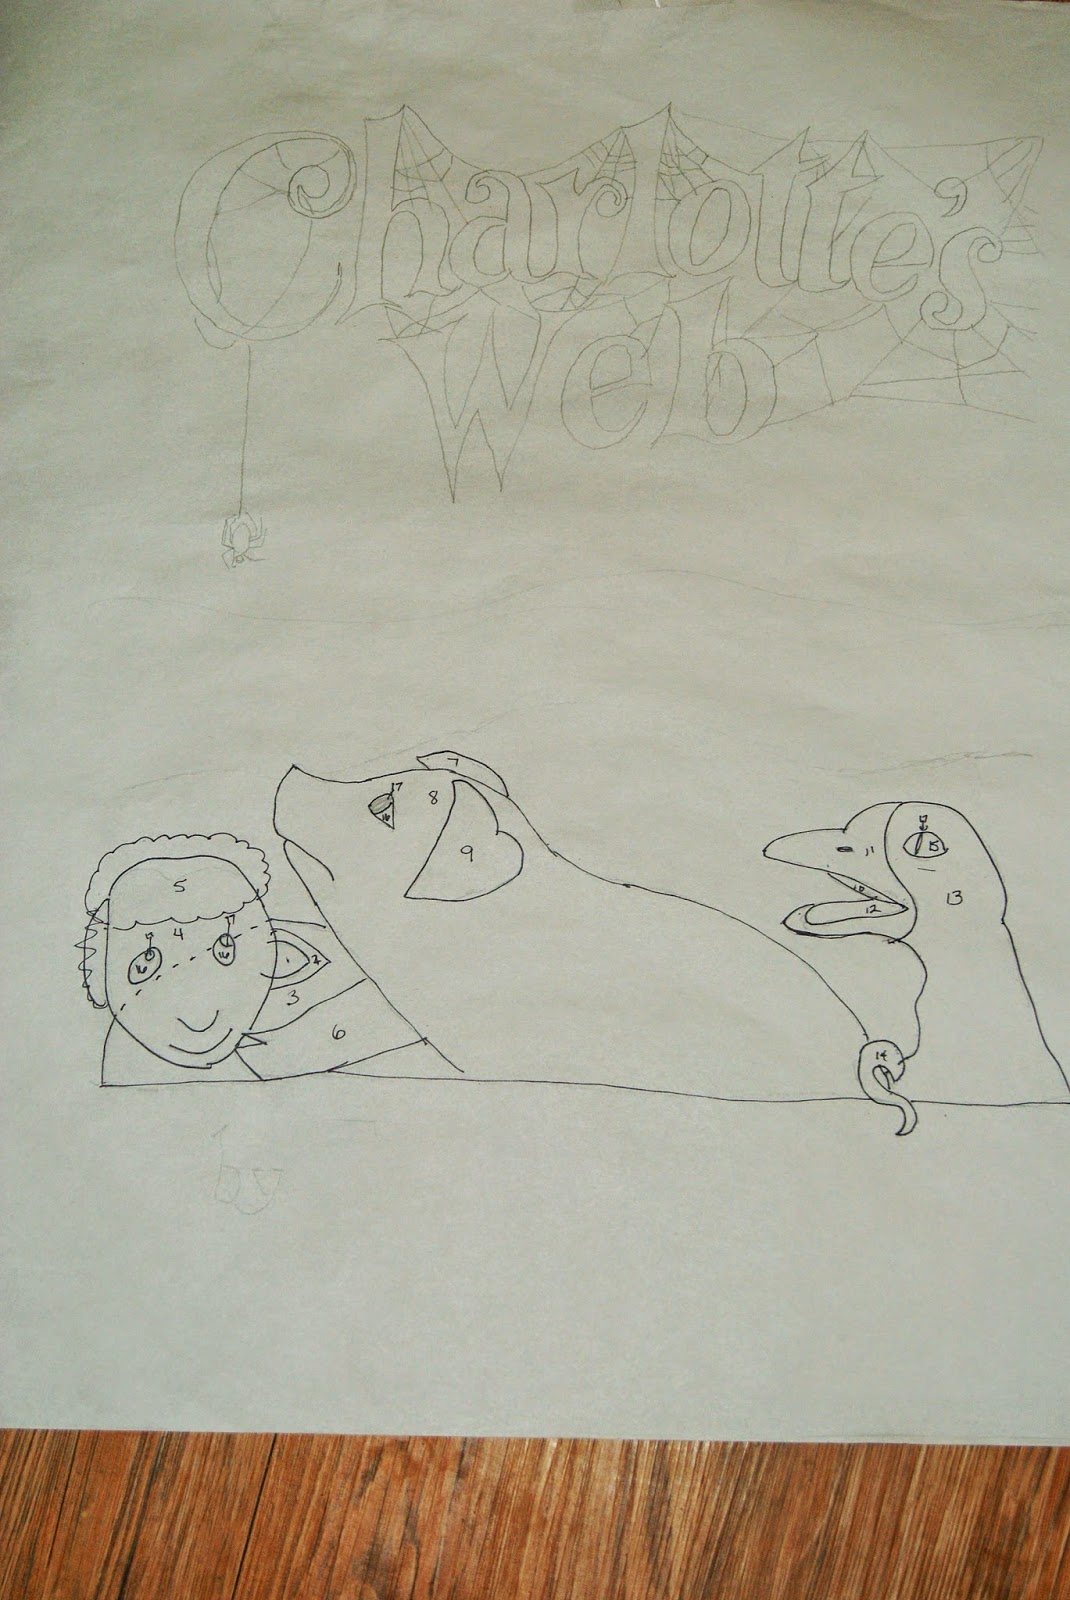
There is no way I am ready to begin to do portraits in quilts, so I knew Fern was out of the question.  Instead I came up with this...
It was a work in progress for a while.  I didn't like the first way the sheep's ears turned out and to be honest, that goose's beak drove me nuts, but here it is at this point....

I wish I would have put some fleece behind the sheep's head and body, but over all I'm happy with it at this stage.  I will work on the lettering for the next couple of weeks and then applique on the eyes and add some embroidered spider webs on it.  The wall with be the last thing that goes on before I quilt it.  I promise I will show the finished product this spring.  We don't have to have them turned into the library until May.  I will be out of place for some of March and April, so I'm happy that I'm this far along with it. 

Love and Stitches,

Sherri